Creating Change Orders and Generating a Change Order Document
Last updated: December 24, 2025
This guide explains how to create a change order for a project, associating it with contracts, and adding relevant details such as vendor name, order number, and order title. It also covers how to add a Schedule of Values (SOV), input the value of the change order, and generate and upload documents.
Start by navigating to the project's budget.
Step 1: Go to the Change Orders section.
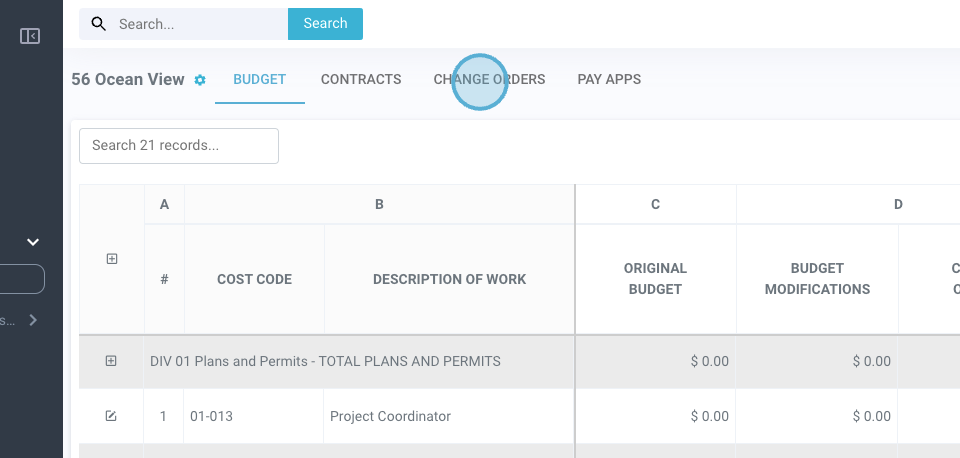
Here, view existing change orders or add a new one.
Step 2: Click on Add New Change Order.
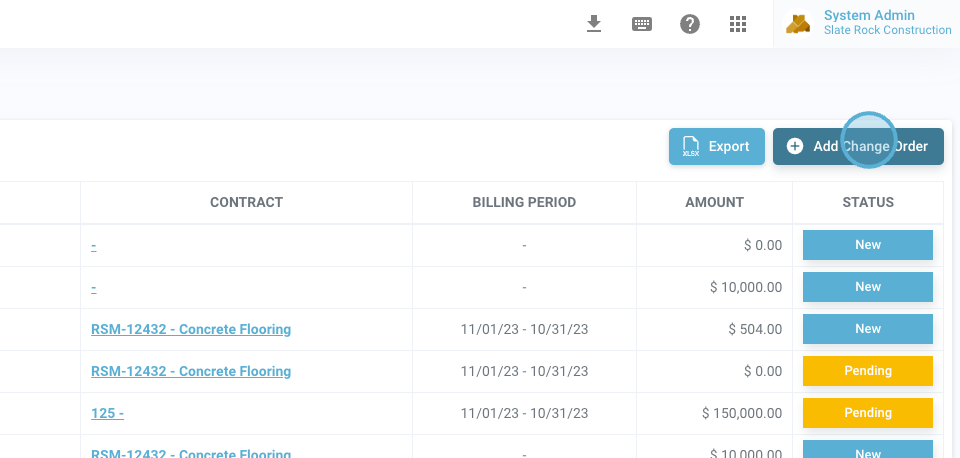
The system automatically selects the project.
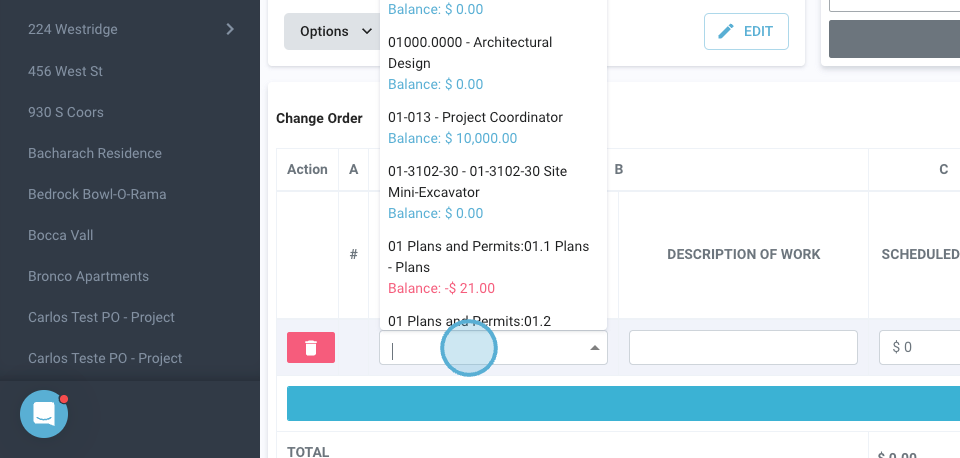
Step 3: Select the associated contract.
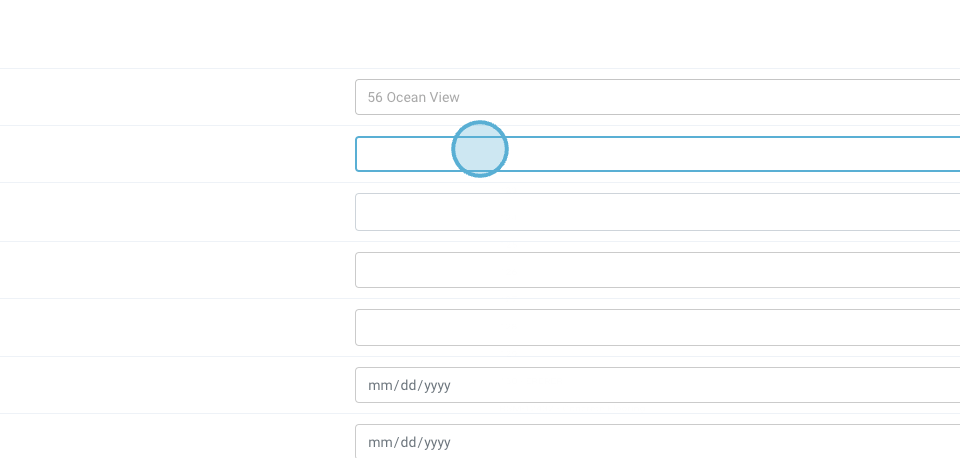
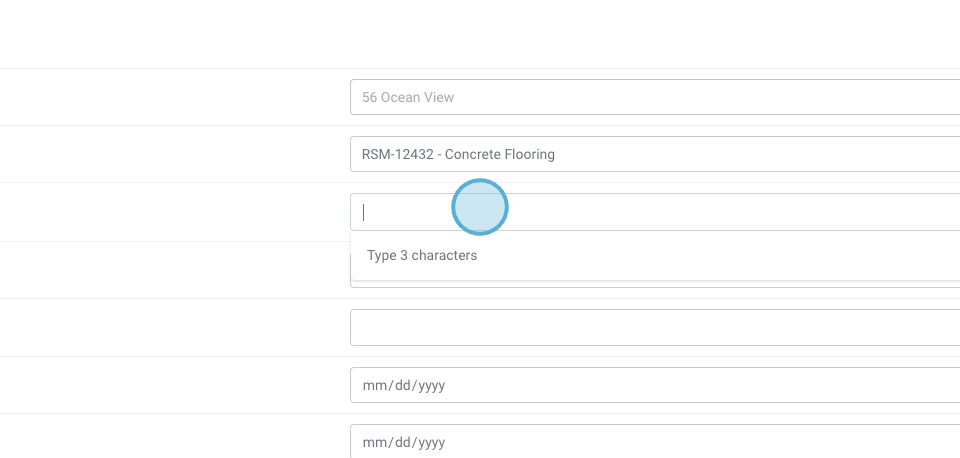
Step 4: Input the vendor name. In this example, select Concrete Works.

Step 5: Enter the order number, for instance, CO-009.
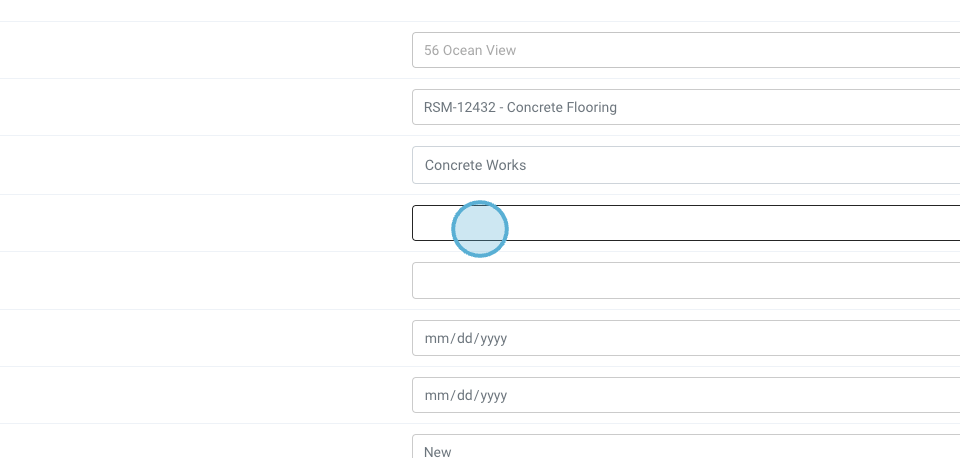

Step 6: Add the order title, such as Additional Concrete Flooring.
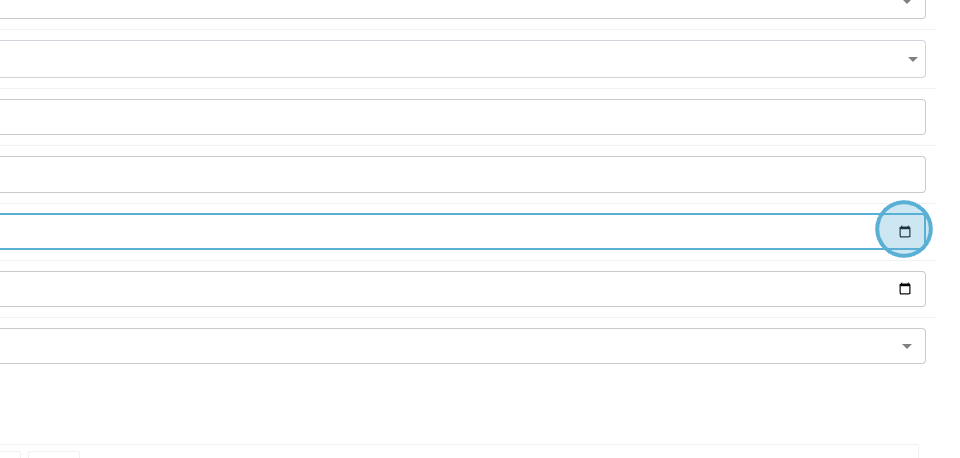
Step 7: Input the order date and the approved date.
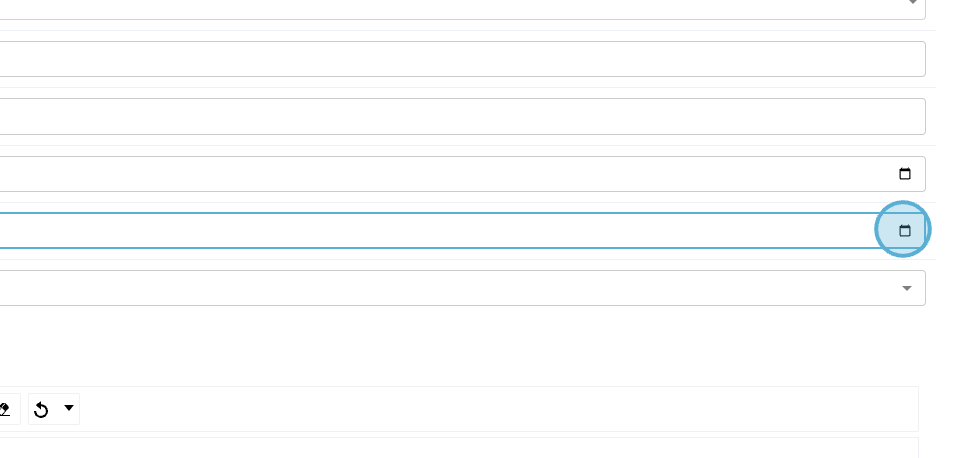
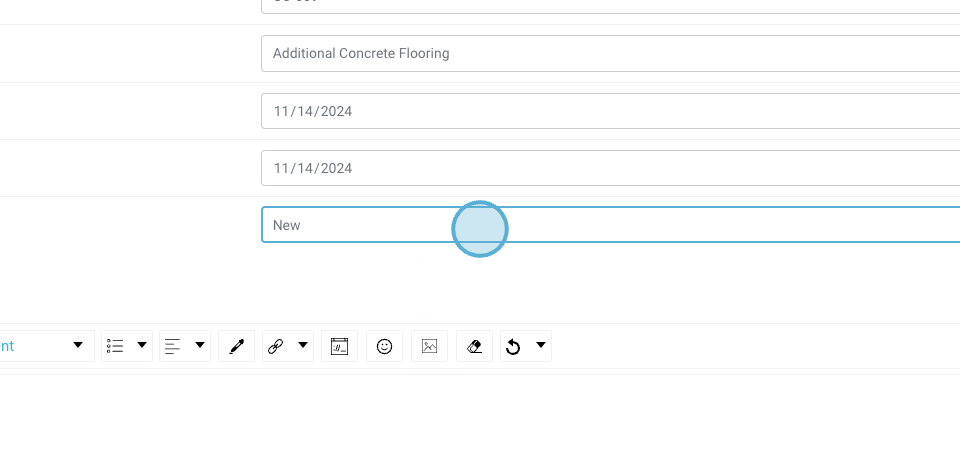
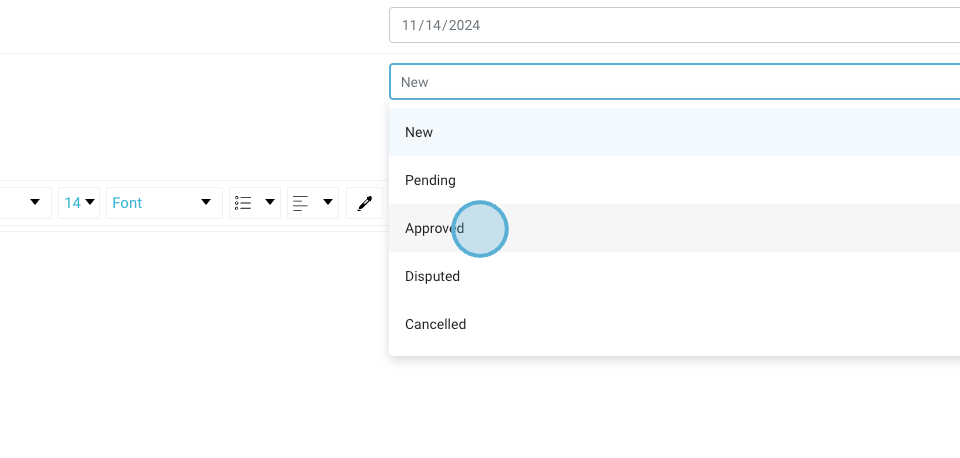
Step 8: Change the status based on whether the order is new or approved. Additional options are available.
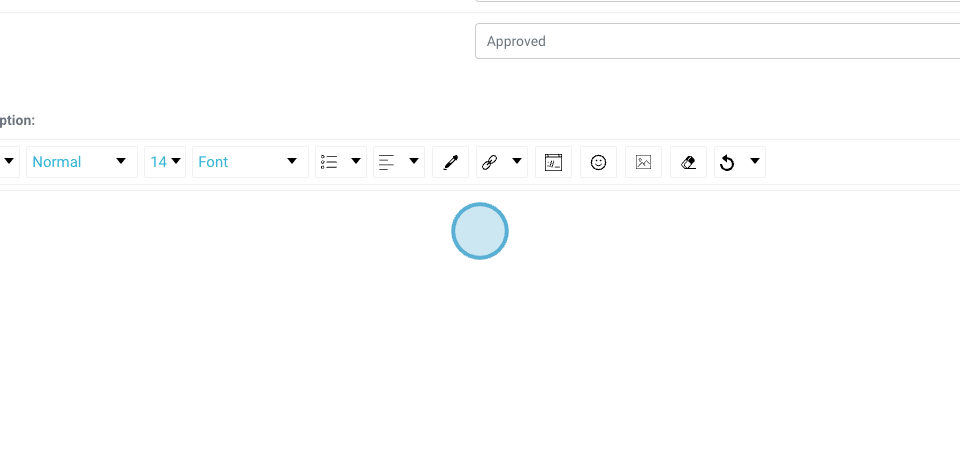
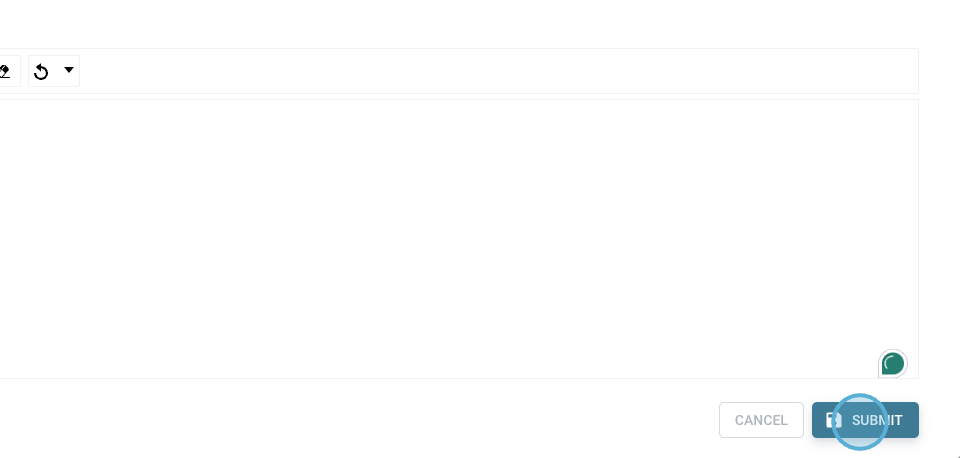
Step 9: Add any additional notes if needed, then click Submit.
The data populates accordingly.
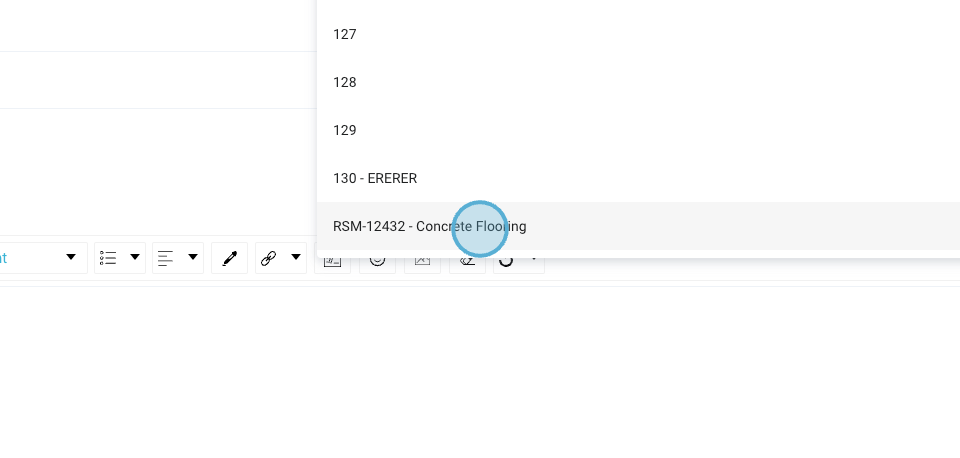
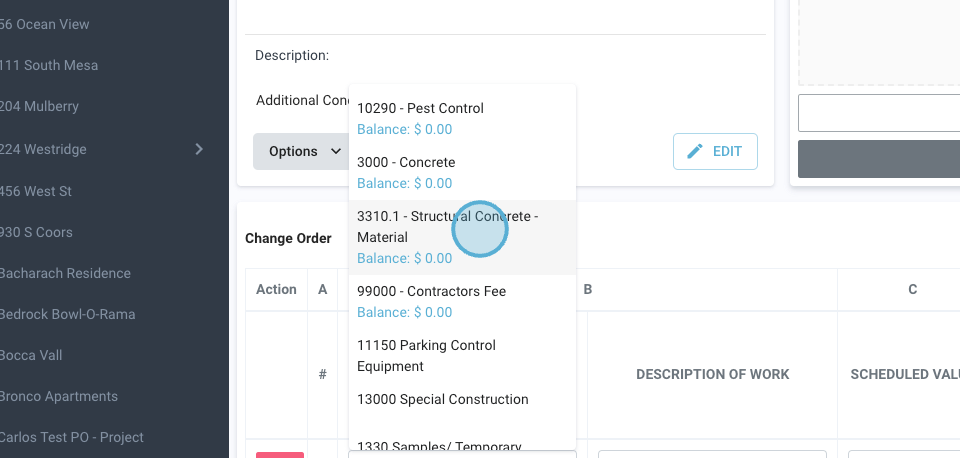
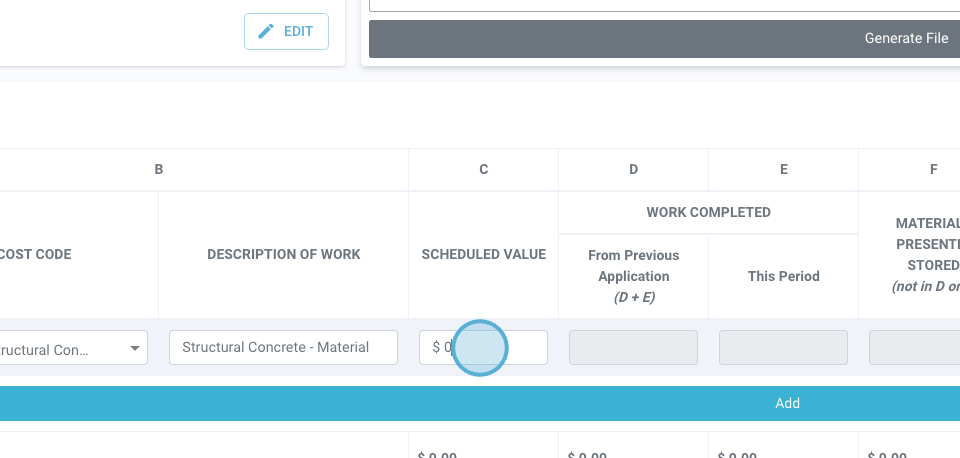
Step 10: Add a SOV to the order. This can be searched and added.
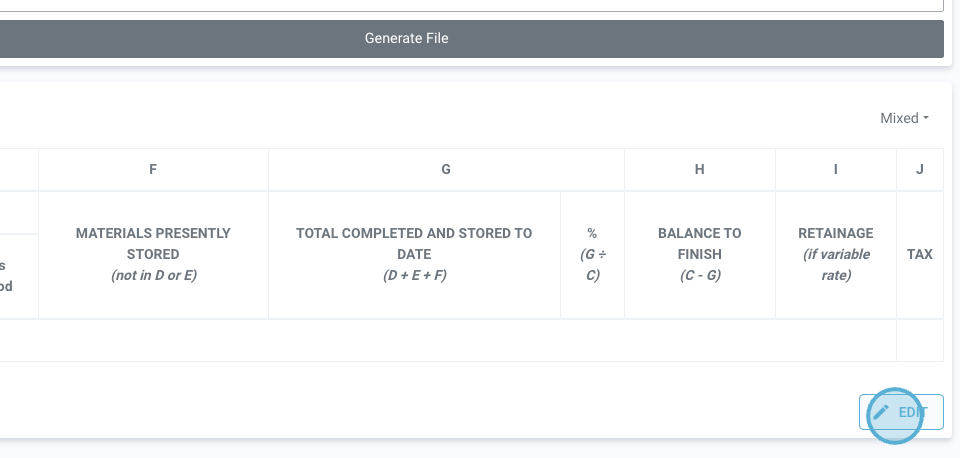
Step 11: Input the value of the change order, for example, $10,000, and save it.
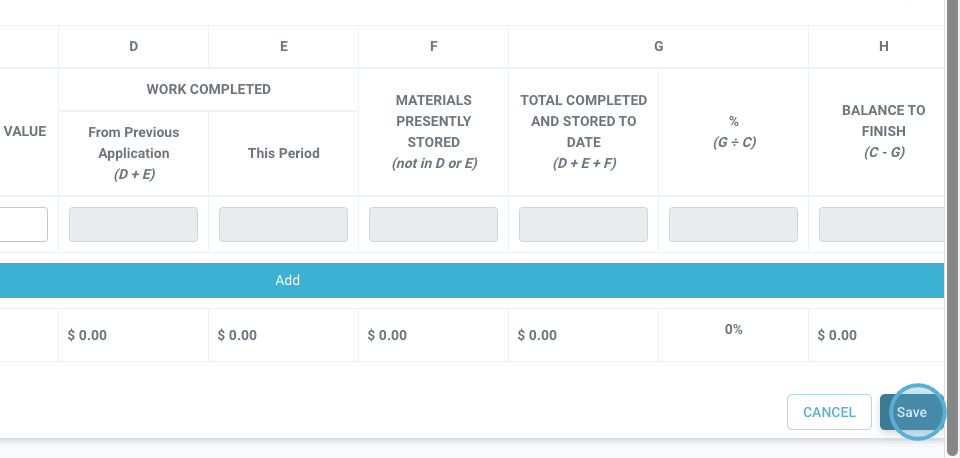
The SOV now appears in the scope.
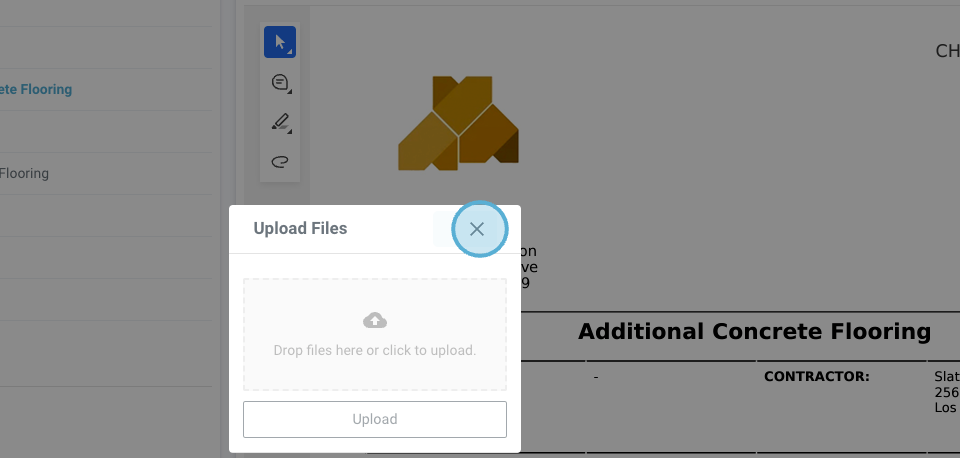
Step 12: Generate the file. The file is automatically generated based on default documentation.
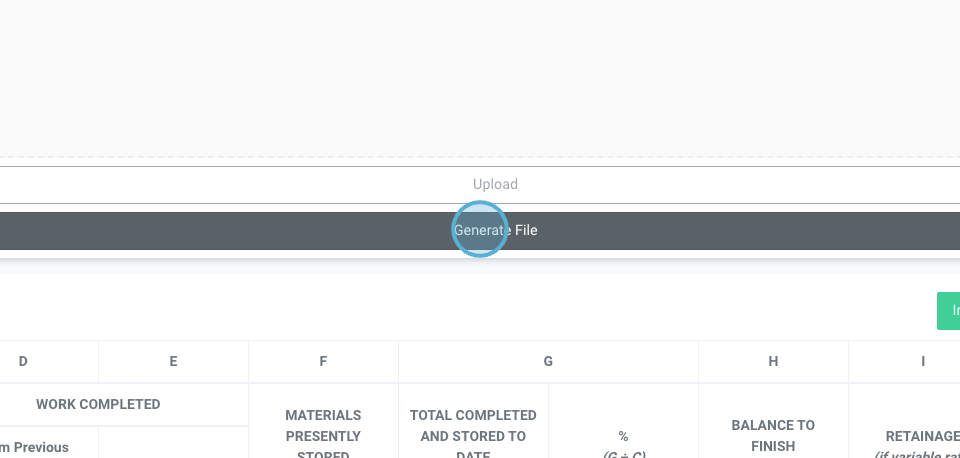
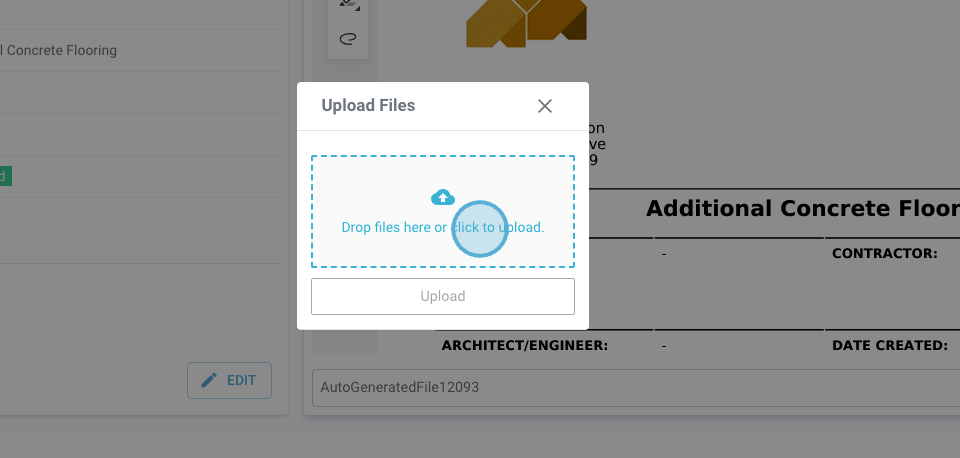
Step 13: If needed, upload a new document. This could be a document exported from another solution, such as Procore.
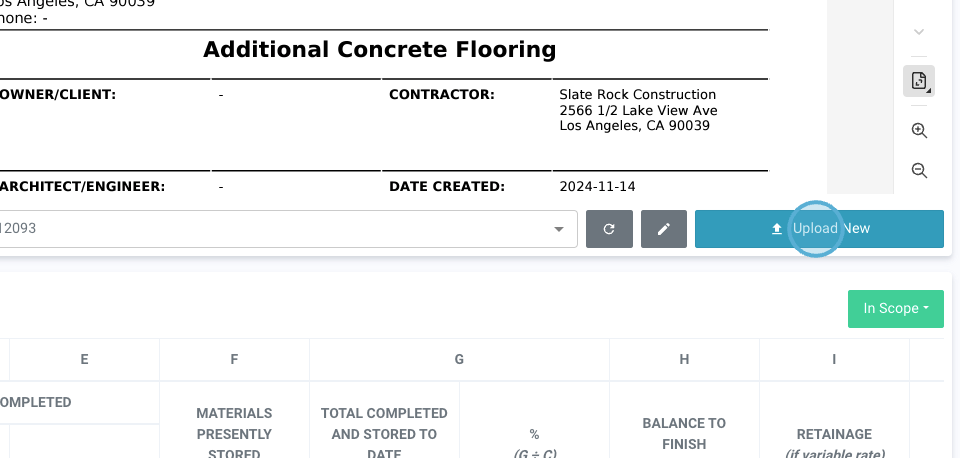
Step 14: Click to add the document, then click Upload.
That concludes the guide on creating a change order for a project. Reach out with any questions.