Adding a Vendor in the Settings
Last updated: December 24, 2025
In this article, we will guide you through the process of adding a vendor in the settings. Follow the steps below to successfully add a vendor.
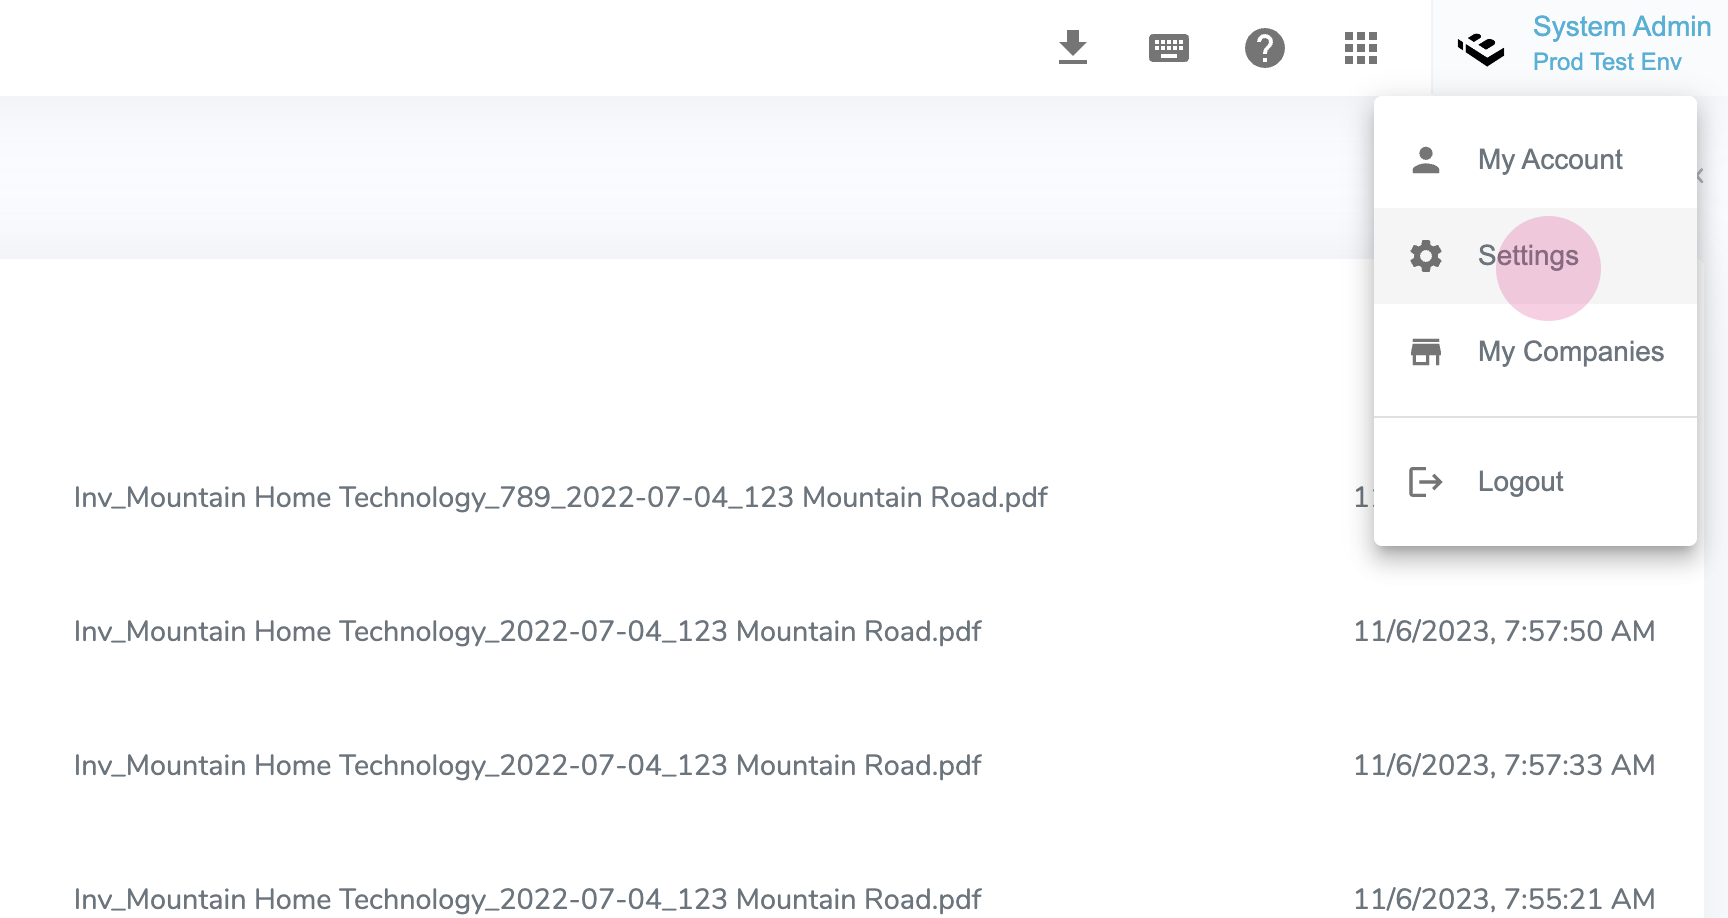
Step 1: Accessing the Settings
To begin, click on the "Settings" option located at the top of the screen.
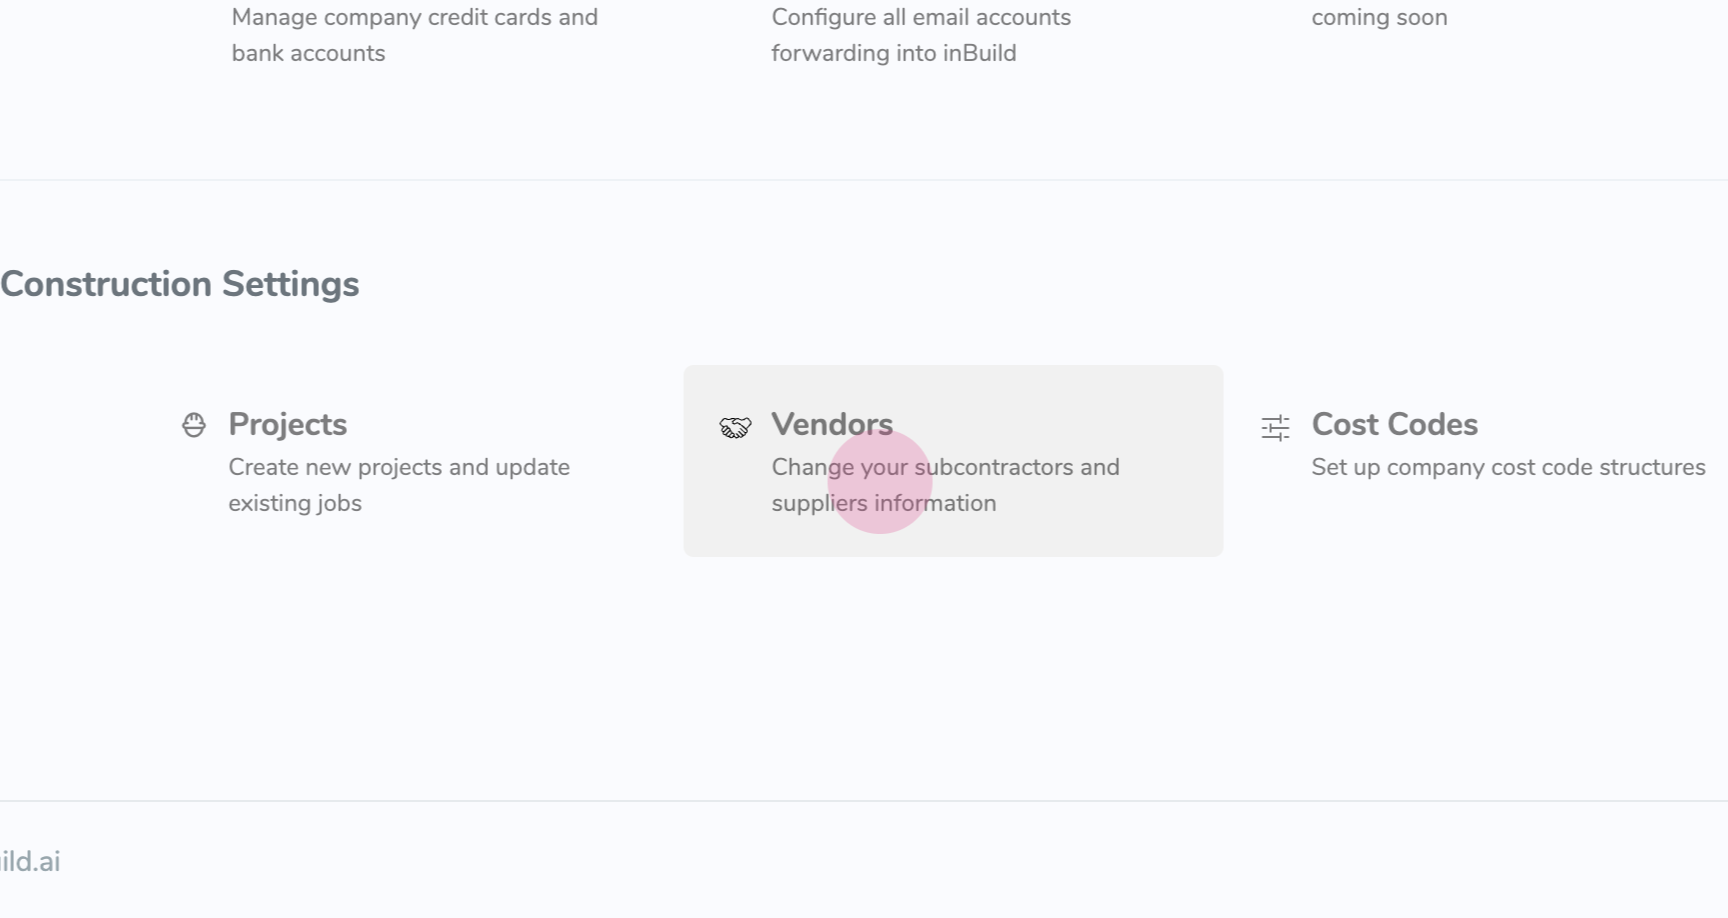
Step 2: Navigating to Vendors
Next, click on the "Vendors" tab in the settings menu.
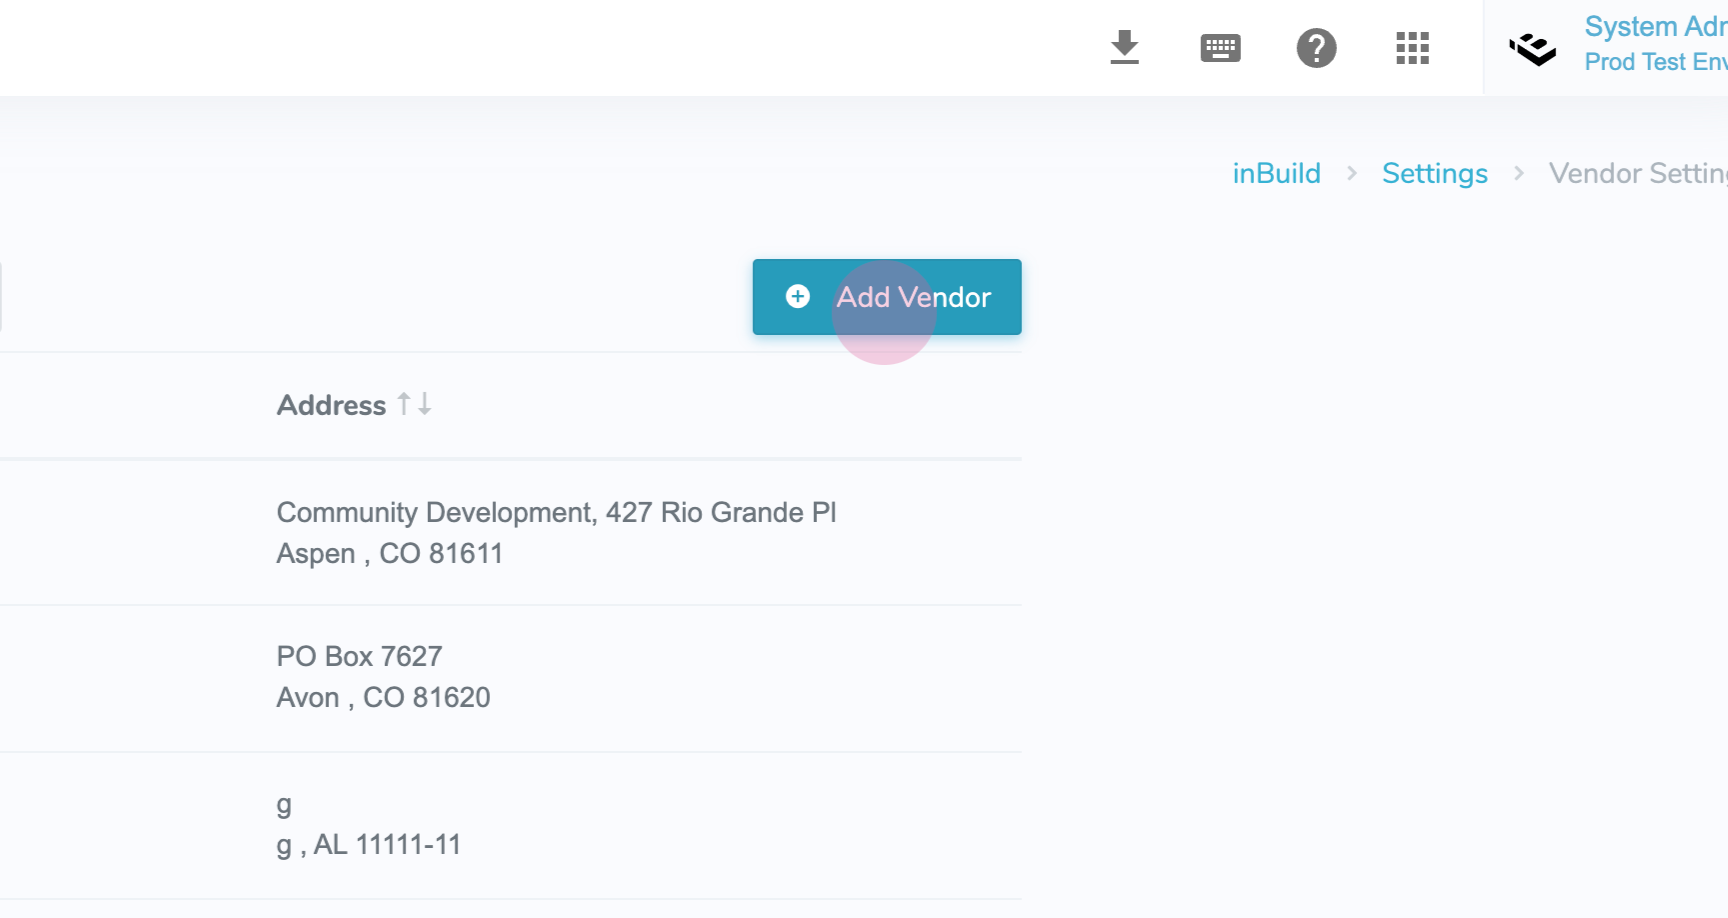
Step 3: Adding a Vendor
Once you are on the Vendors page, click on the "Add Vendor" button.
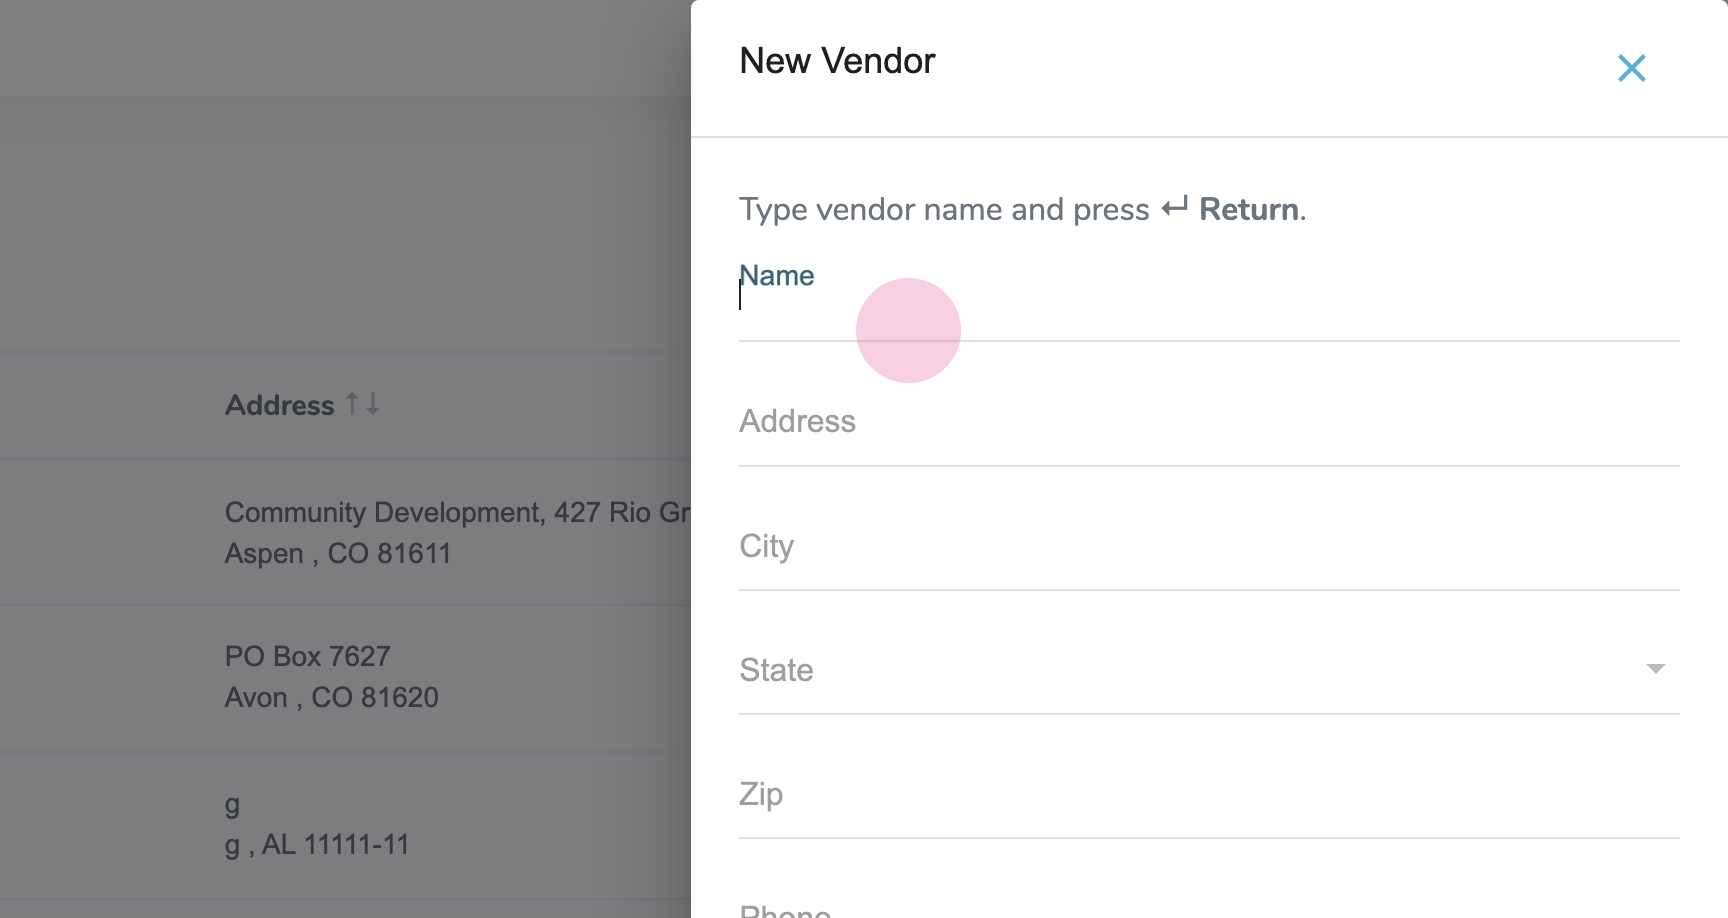
Step 4: Entering Vendor Information
A form will appear where you can enter all the necessary information for the vendor. Fill in the required details.
Step 5: Submitting the Information
After entering all the required information, click on the "Enter" button to save the vendor details.
You have successfully added a vendor in the settings. If you have any further questions or need assistance, please contact our customer support team.